Importing Photos - Using MapInfo with Linking ID's
- John Ivett (Unlicensed)
Importing / Attaching Existing Photographs
Bulk Import of Existing Photographs into a Dataset Using ID Linking in MapInfo GIS
AFFECTS
Konect Manager
ISSUE
You have a large number of photographs that you want to import and link to records in a Konect dataset.
STEP-BY-STEP
Overview
This document discusses processes that can be used to import and associate a large number of existing photographs with records in a Konect Dataset. In this situation it is not practical to use the method described for a small number of photographs (see Importing Photos - Browsing from a Form)
The import process involves:
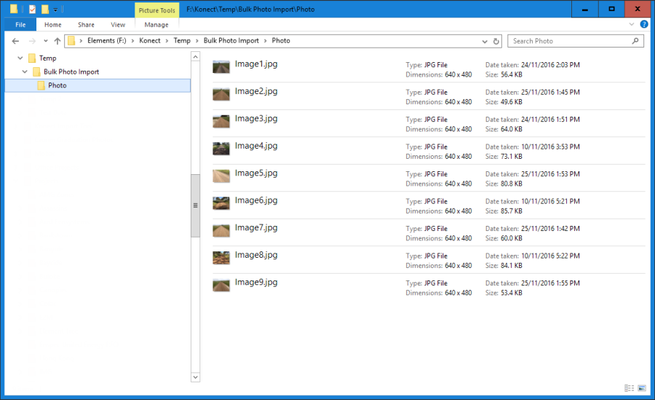
- Consolidate all photograph files to be imported into a single folder
- Produce a CSV file that contains a listing of Konect ID's and the photo filename to be linked to each Konect ID
- Place the CSV file in the same folder as the consolidated photographs
- Run the Konect Photo Import Tool
The instructions described are predominately related to the creation of the CSV file and it should be noted that it will not be possible to produce this file unless:
- The photographs share an external unique ID with features already stored in Konect eg asset ID
OR
- The photographs have been spatially located ie have coordinates allowing the photo location to be plotted on a map
Three methods for producing the CSV file can be used:
- Using Microsoft Excel – using a shared external unique ID (link: Importing Photos - Using Excel)
- Using MapInfo GIS – using a shared external unique ID (this article)
- Using MapInfo GIS – using spatial location (link: Importing Photos - Using MapInfo and Spatial Queries)
These instructions describe Method 2.
It is recommended that an appropriate file management structure is established to simplify the described processes. Ensure that a 'Photo' folder is created and all the images to be imported are copied to this location.
Instructions
A. Export from Konect, a TAB file containing corresponding values for "External Unique ID" and "Konect ID"
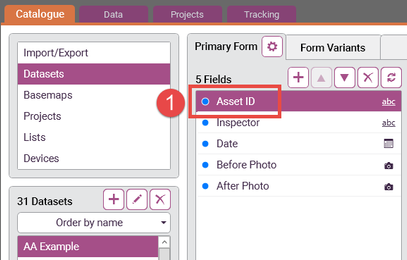
1 Ensure that an appropriate "unique ID" field is present and populated in the Konect Dataset to which the photographs are to be attached. This will commonly be an Asset ID allocated from a system external to Konect and will generally form part of a dataset imported into Konect. It is not a Konect allocated ID.
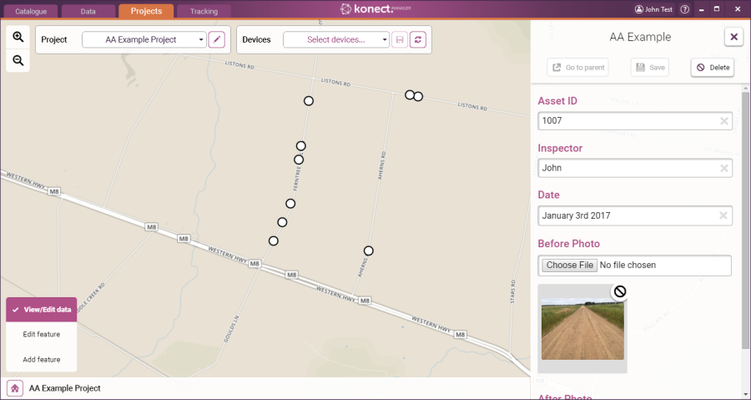
2. Select the' Data Tab'
3. Select the required Dataset from the list
4. Select 'Export'. The export dialogue will open.
5. Choose' MapInfo TAB File' as the 'Export Type'
6. Ensure the 'Save photos' switch is set to off
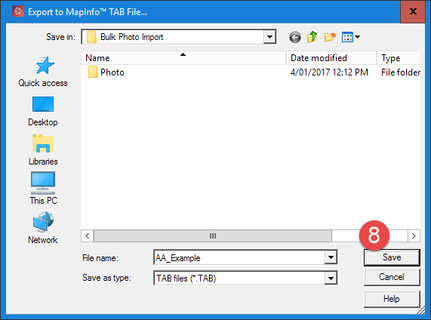
7. Click 'Save As' to open the Export to MapInfo Dialog (point 8 below)
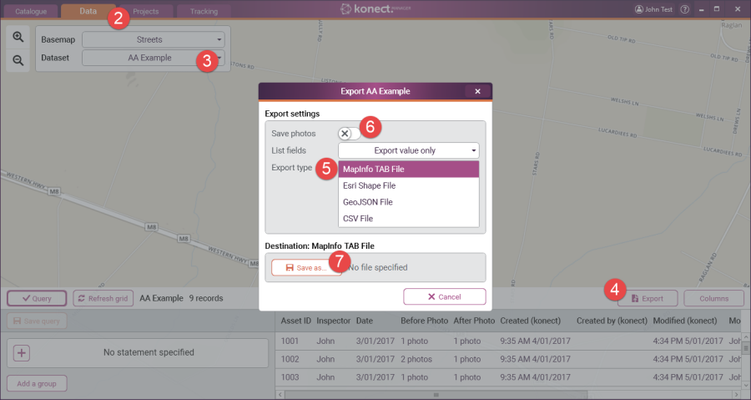
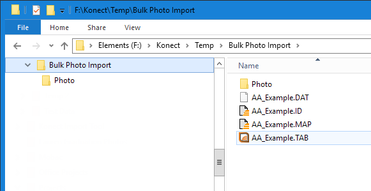
8. Browse to the file management folder established for the import task and 'Save' the table. In this example the file is called "AA_Example.tab" and the folder path is one level below the Photo folder.
B. Prepare and process MapInfo tables
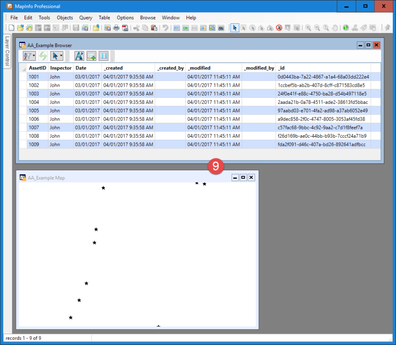
9. Open the TAB file exported from Konect. In this case "AA_Example.tab"
10. If it doesn't already exist, prepare a MapInfo table containing a list of Unique ID's and corresponding photograph filenames. If this cannot be done then this process cannot be completed using this method.
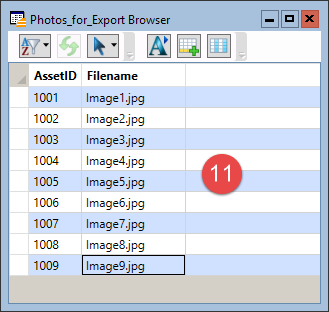
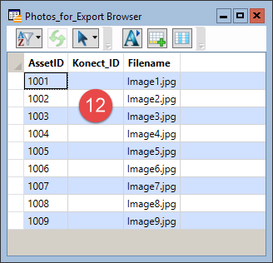
11. Open the table containing the unique ID's and corresponding photograph filenames. In this example the file is called Photos_for_Export.tab If there are no spatial locations a Browser will display.
12. Add a field called "Konect_ID"
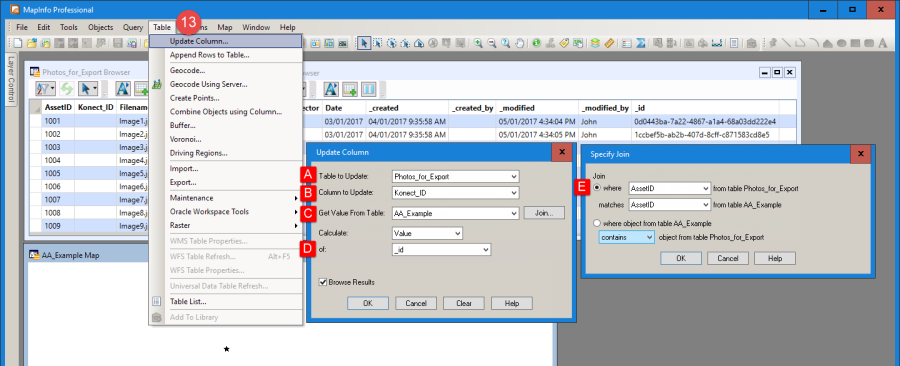
13. Run a Table > Update Column command to populate the Konect_ID with values from the exported Konect dataset.
A. Table to update = "Photos_for_Export.tab"
B. Column to Update = "Konect_ID"
C. Get Value From = "AA_Example.tab"
D. Calculate Value Of = "_id"
E. Specify Join = "AssetID" from Photos_for_Export = "AssetID" from AA_Example"
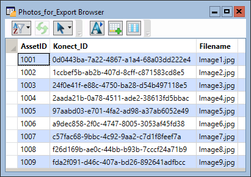
14. Save the "Photo TAB"
C. Export a CSV File from MapInfo
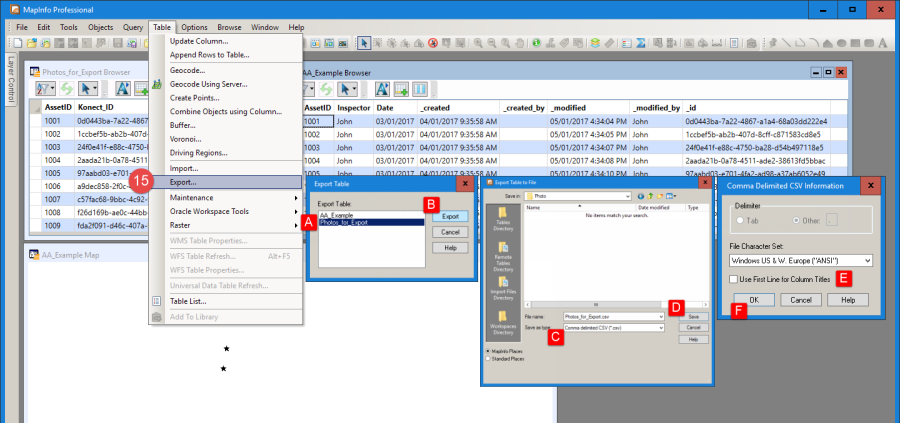
15. Run a Table > Export command
A. Choose the "Photos_for_Export.tab"
B. Select 'Export'
C. Change the "Save as type" to CSV
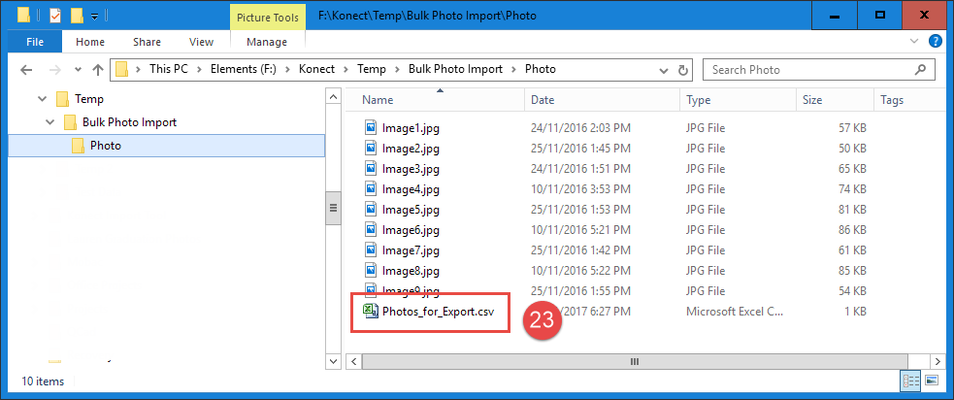
D. Select 'Save' and save into the folder containing the photo files to be imported into Konect. The CSV must be in the same folder as the photo files.
E. Make sure that NO Column Titles are exported
F. OK
D. Remove Formatting from the CSV File Using Notepad
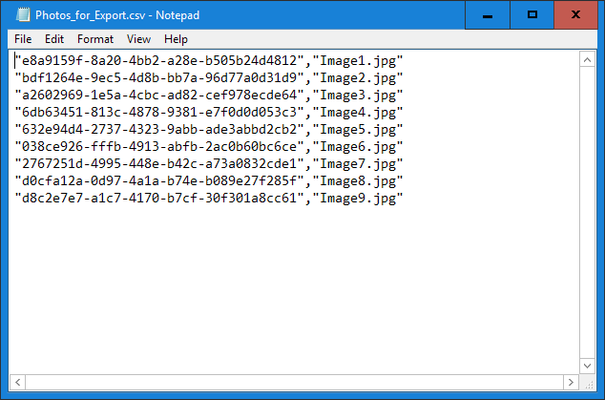
NOTE: The CSV export from MapInfo will result in " " being placed around each value in the file. These must be removed for the Konect CSV import to work.
14. Open the CSV file in Notepad (any text editor). There are " " around every value and the values are separated by ,
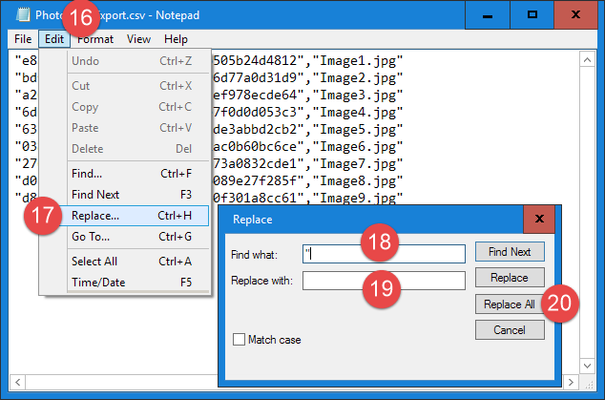
16. Select Edit
17. Select Replace from the menu
18. Enter " as the Find value
19. Leave Replace With blank
20. Select Replace All
21. Close the Replace dialog
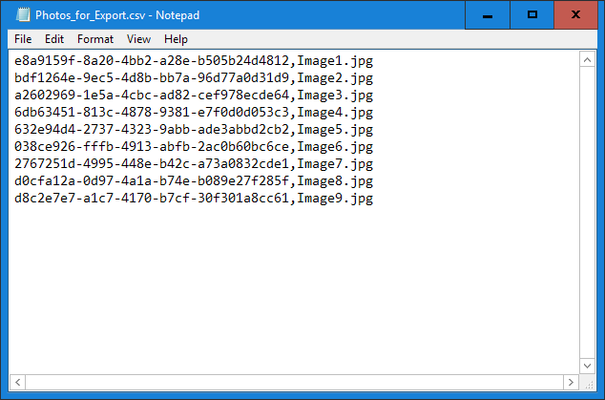
22. Save the CSV file
E. Final Editing of the CSV File in Excel
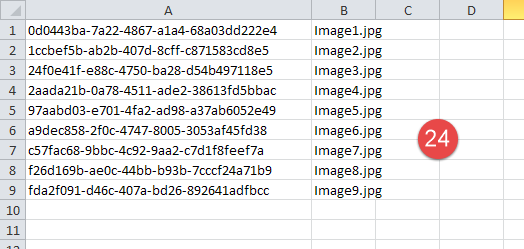
NOTE: Excel is the ideal tool to make any final edits to the exported CSV. There must be no header row and there must be only two columns - the first column is the Konect_ID and the second is the Photo filename. This format and field order is required by Konect in the next step. Edit the CSV to achieve this format.
23. Open the CSV file in Excel
24. Complete any editing required to ensure that there are only two columns and no header row as shown below.
25. Save the CSV file ensuring that the CSV format is maintained ie don't save as an xlsx file
26. Close the CSV file. The following import in Konect will not work if the CSV file is left open.
F. Import the Photos Into Konect
27. Open Konect
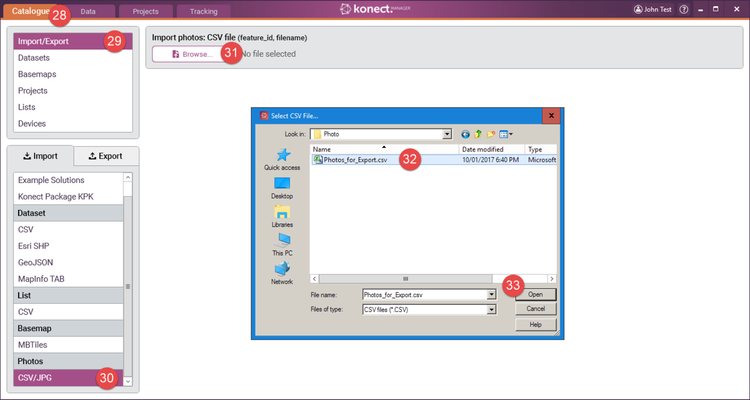
28. Select 'Catalogue'
29. Select 'Import/Export'
30. Select 'Photos – CSV/JPG'
31. Click 'Browse'
32. Select the CSV file exported, modified and saved at point 18 above.
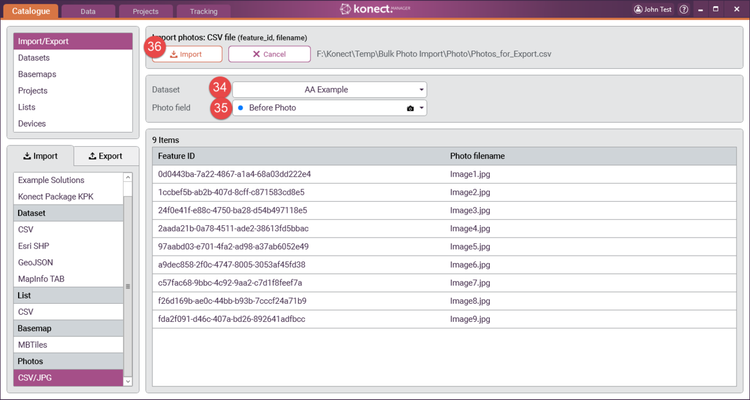
33. Select 'Open' and the import grid will populate
34. Select the 'Dataset' to which the imported Photos will be linked
35. Select the 'Photo field' to be linked
36. Click 'Import'
37. A status bar will present while the photographs are imported and uploaded to the database
38. A summary of the import will present

39. The photos will now be available in forms opened from Konect Manager or Konect App.