Importing Photos - Using Excel
- John Ivett (Unlicensed)
Importing / Attaching Existing Photographs
Bulk Import of Existing Photographs into a Dataset Using Microsoft Excel
AFFECTS
Konect Manager
ISSUE
You have a large number of photographs that you want to import and link to records in a Konect dataset.
STEP-BY-STEP
Overview
This document discusses processes that can be used to import and associate a large number of existing photographs with records in a Konect Dataset. In this situation it is not practical to use the method described for a small number of photographs (link: Importing Photos - Browsing from a Form)
The import process involves:
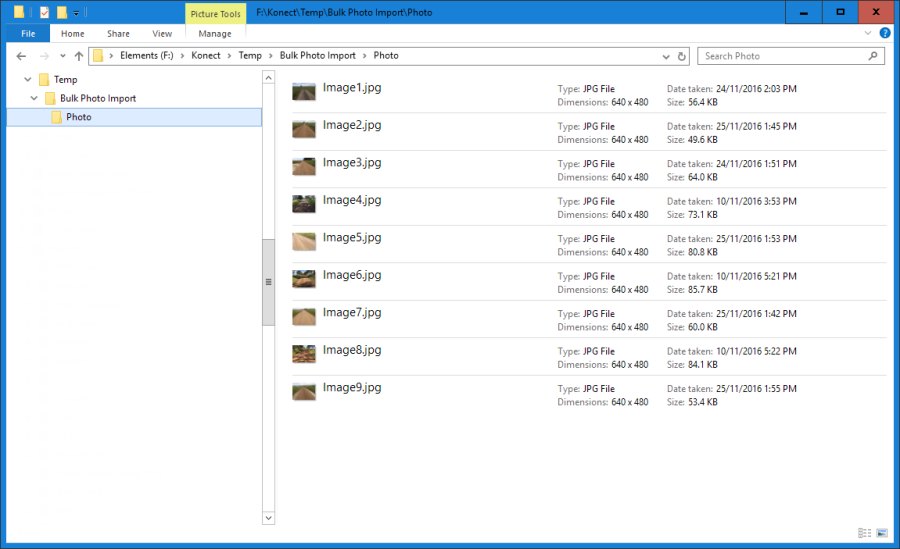
- Consolidate all photograph files to be imported into a single folder
- Produce a CSV file that contains a listing of Konect ID's and the photo filename to be linked to each Konect ID
- Place the CSV file in the same folder as the consolidated photographs
- Run the Konect Photo Import Tool
The instructions described are predominately related to the creation of the CSV file and it should be noted that it will not be possible to produce this file unless:
- The photographs share an external unique ID with features already stored in Konect eg asset ID
OR
- The photographs have been spatially located ie have coordinates allowing the photo location to be plotted on a map
Three methods for producing the CSV file can be used:
- Using Microsoft Excel – using a shared external unique ID (this article)
- Using MapInfo GIS – using a shared external unique ID (link: Importing Photos - Using MapInfo with Linking ID's)
- Using MapInfo GIS – using spatial location (link: Importing Photos - Using MapInfo and Spatial Queries)
These instructions describe Method 1.
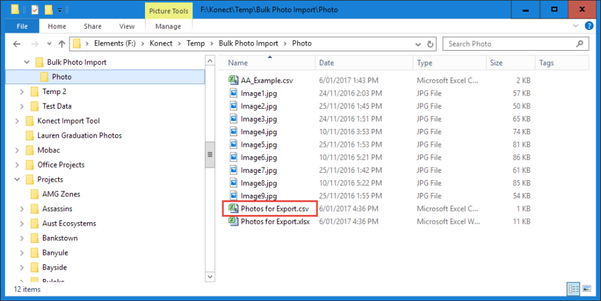
It is recommended that an appropriate file management structure is established to simplify the described processes. Ensure that a 'Photo' folder is created and all the images to be imported are copied to this location.
Instructions
A. Export from Konect, a CSV file containing corresponding values for "External Unique ID" and "Konect ID"
1 Ensure that an appropriate "unique ID" field is present and populated in the Konect Dataset to which the photographs are to be attached. This will commonly be an Asset ID allocated from a system external to Konect and will generally form part of a dataset imported into Konect. It is not a Konect allocated ID.

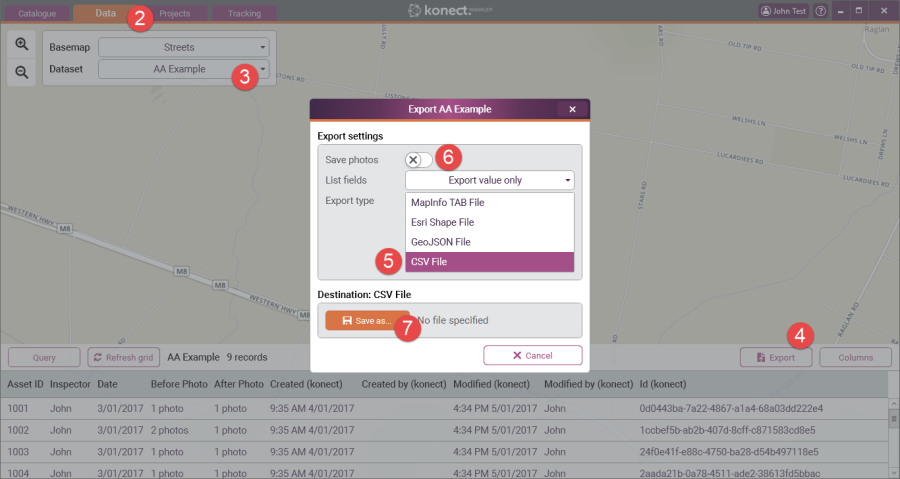
2. Select the' Data Tab'
3. Select the required Dataset from the list. In this example "AA_Example"
4. Select 'Export'. The export dialogue will open.
5. Choose' CSV File' as the 'Export Type'
6. Ensure the 'Save photos' switch is set to off
7. Click 'Save As' to open the Export to CSV Dialog (point 8 below)
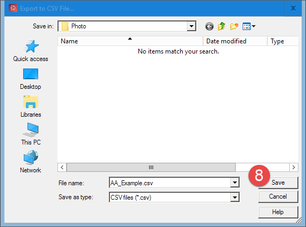
8. Browse to the folder containing all the photos to be imported (see file management discussion above), enter an appropriate file name and 'Save' the CSV file. In this example "AA_Example.csv"
B. Prepare an Excel Spreadsheet
9. As stated in the introduction, in order to bulk import photographs there must be a listing of photograph names and corresponding unique ID's of the features the photographs belong to. This listing must be made available in Excel format. Remember the unique ID's must also be present in the Konect dataset that was exported.
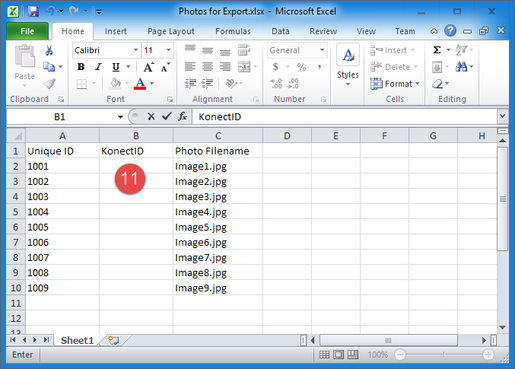
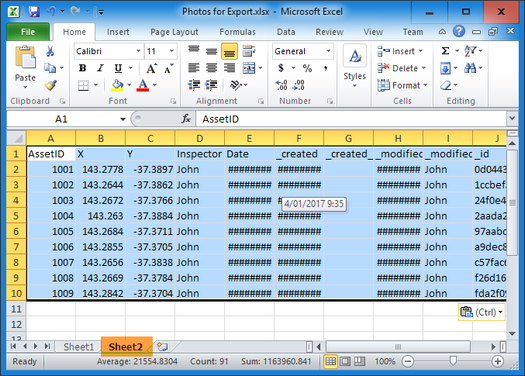
Open the file containing the tabulated photograph filenames and corresponding unique ID's shared with the Konect dataset. In this example the file is called "Photos for Export.xlsx" and has been located in the Photo folder that contains all the photographs to be imported.
Note: The field order must be as shown in the capture below – Unique ID must be the first field ie Column A
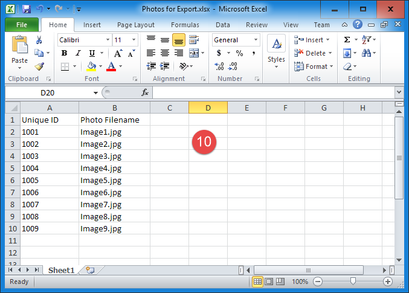
10.Add a field called "KonectID" as column B and save the spreadsheet.
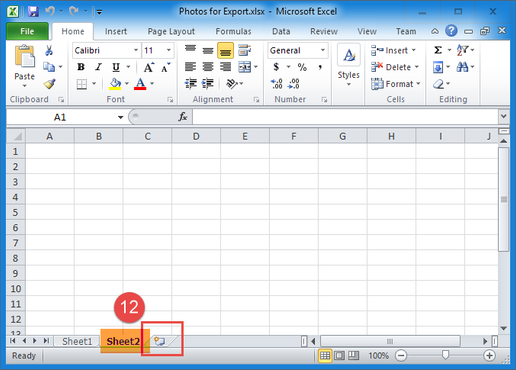
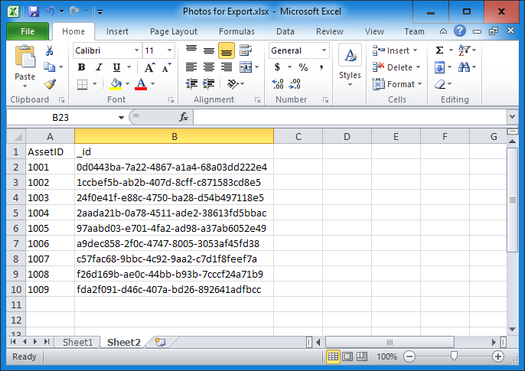
11. If Sheet 2 is not present click on the 'Add Worksheet' icon to add it or select the Sheet2 worksheet to display it.
C. Open and Edit the CSV file exported from Konect
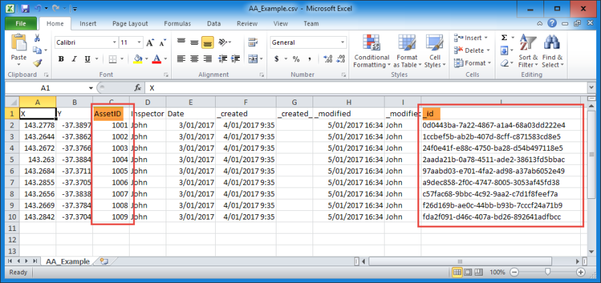
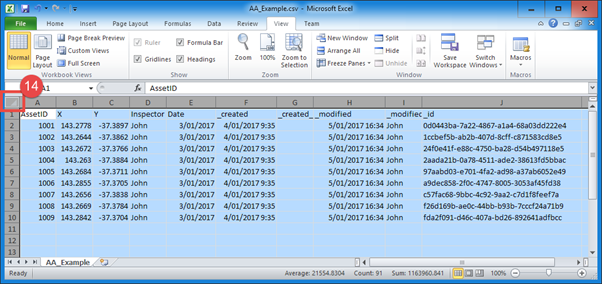
12. In Excel, Open the CSV file previously exported from Konect (step 8).ie in this example AA_Export.csv. Note the position of the two critical fields required for the import process – UniqueID (AssetID) and _id (KonectID)
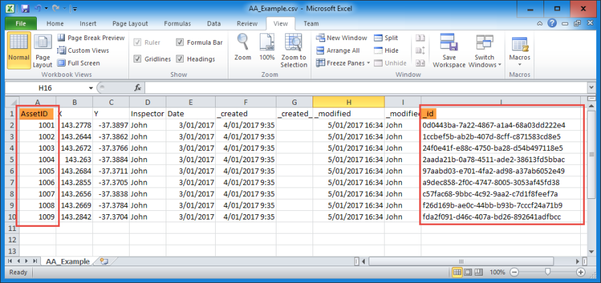
13. Make the UniqueID field (AssetID) the first field ie Column A. The remainder of this procedure will not work if the UniqueID field is not Column A. One way of doing this is to select the entire UniqueID column by clicking on the column cell reference (in this example 'C'), right clicking in the highlighted area and choose 'Cut' from the menu, click on the cell reference for column A, right click inside the highlighted area and choose 'Insert Cut Cells' from the menu.
D. Copy data from the CSV export and paste it into the prepared spreadsheet
14. Click the Sheet Selection button to select the entire Worksheet
15. Copy the selected Worksheet by right clicking inside the highlighted area and choosing Copy from the menu
16. Switch to the spreadsheet containing the listed photo filenames and corresponding Unique ID's (see step 11) ie in this example Photos for Export.xlsx. You should be positioned on Sheet2
17. Point inside Cell A1 and right click. Choose 'Paste' from the menu and the content copied from the CSV file will be entered.
18. Delete all fields leaving only the UniqueID and KonectID fields ie in this example AssetID and _id
E. Insert the KonetID using a VLOOKUP formula
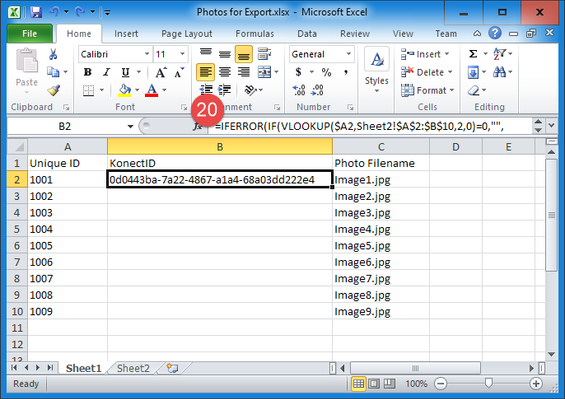
19. Switch to Sheet1 and select cell B2.

20. Enter the following formula into cell B2. The highlighted cell reference describes the full extent of the data in Sheet2
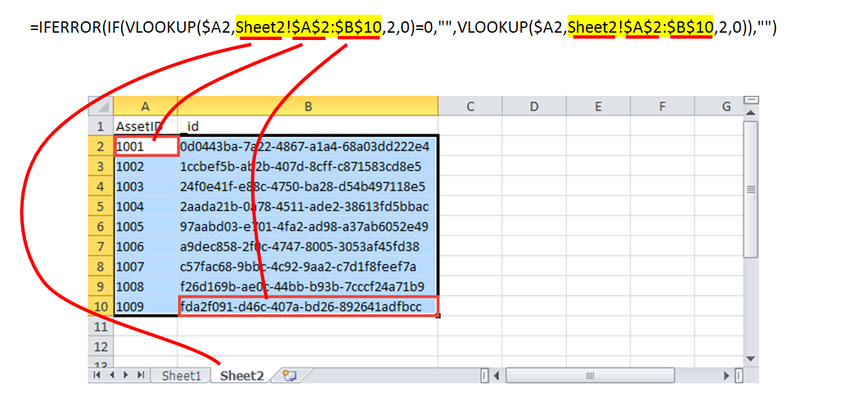
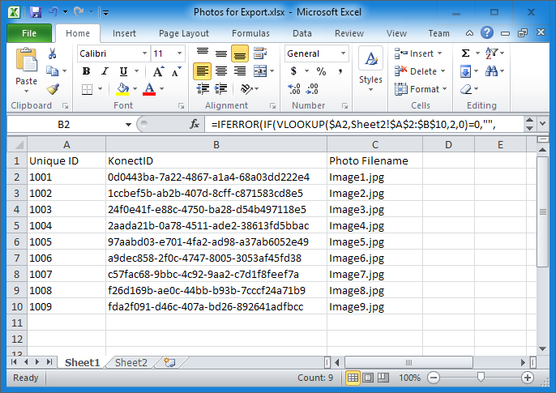
21. Use autofill or copy and paste cell B2 into all required cells in column B
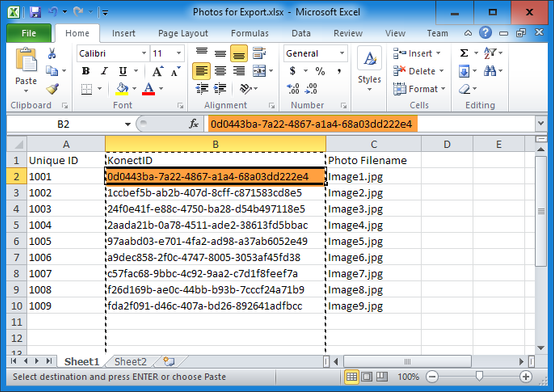
22. Select Column B, right click in the selection and choose Copy from the menu.
23. Paste Special to replace the cell contents with the Cell Value
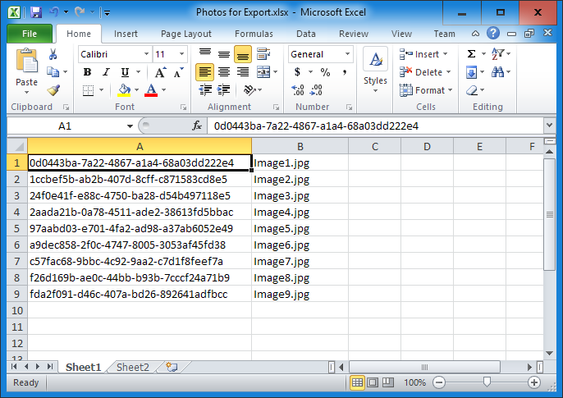
24. Delete Column A and Row 1 to remove the UniqueID and the Header Row
25. 'Save As' a CSV file in the same location as the original xlsx spreadsheet ie in the Photo Folder. Note that saving as a CSV will only save Sheet 1.
26. Close the CSV file. If it is not closed the remaining steps to be made in Konect cannot be performed.
F. Import the photographs into Konect
27. Open Konect
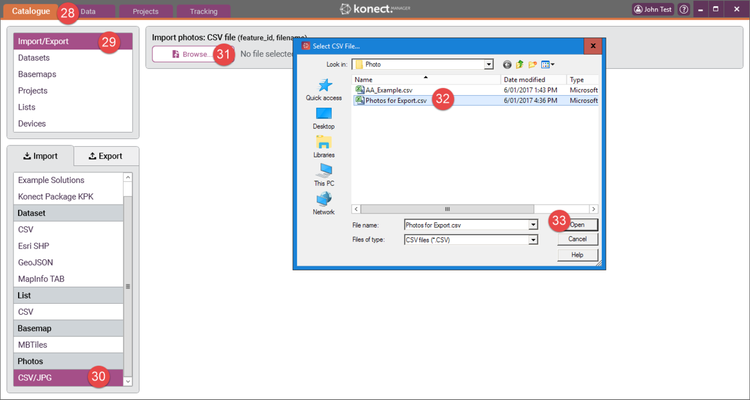
28. Select the 'Catalogue Tab'
29. Select 'Import/Export'
30. Select 'Photos – CSV/JPG'
31. Click 'Browse'
32. Select the CSV file saved at point 24 above. In this example "Photos for Export.csv"
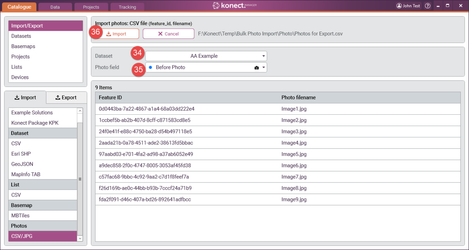
33. Select 'Open' and the import grid will populate
34. Select the 'Dataset' to which the imported Photos will be linked
35. Select the 'Photo field' to be linked
36. Click 'Import'
37. A status bar will present while the photographs are imported and uploaded to the database.
NOTE: Depending on the number of photographs to be copied and the size of the photographs, the import can take many hours to complete. It is therefore recommended that the import be run when the time required will not impact on other competing work practices.
38. A summary of the import will present when the import is complete
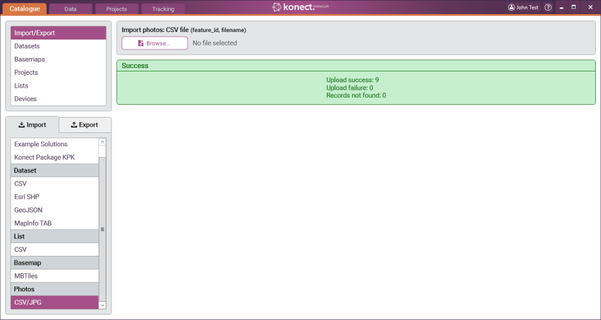
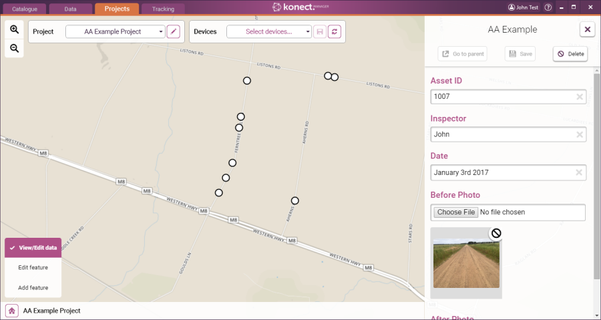
39. The photos will now be available in forms opened from Konect Manager or Konect App.
 |
|