...
Ensure the GPS is enabled
Ensure the Show UI on main map is enabled from the Automatic GPS Drawing settings
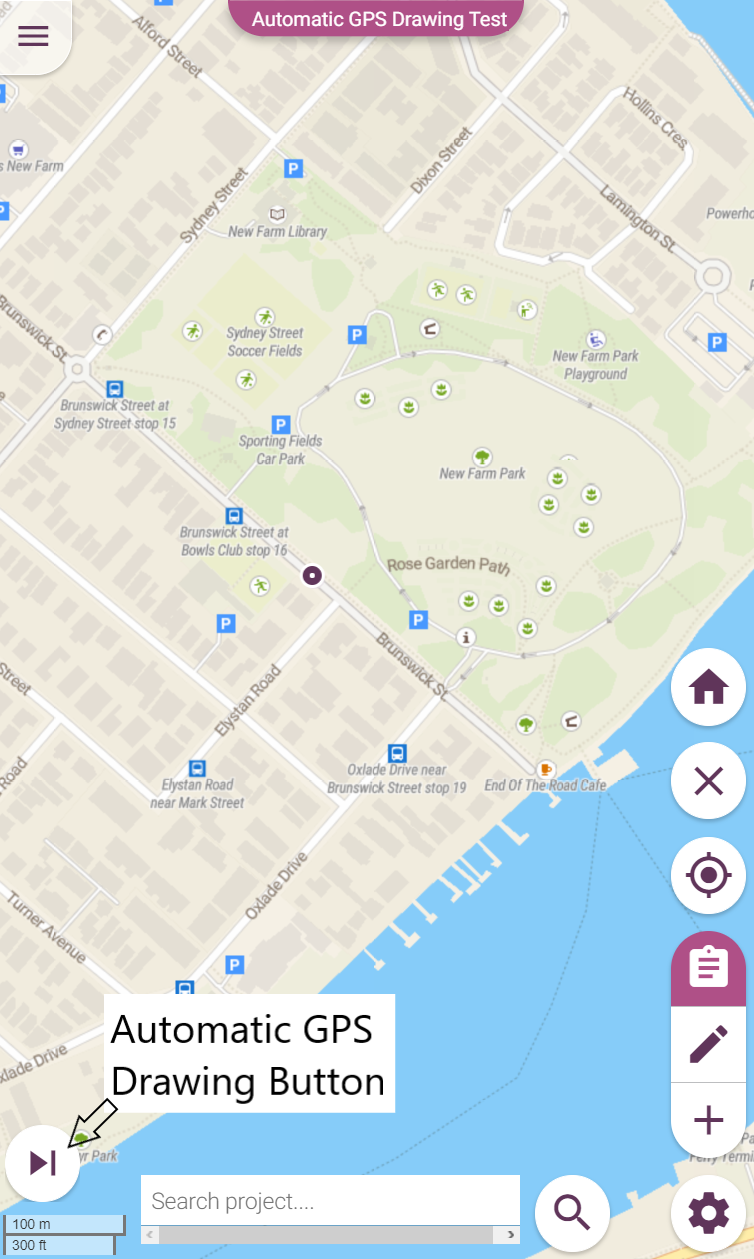
Open a konect project to the map and press the Automatic GPS Drawing popup menu button from the left-hand toolbar. This button will always be available (if enabled) regardless of mode and when it is highlighted there is an active path.

Press the start button from the Automatic GPS Drawing popup menu. This will start the Automatic GPS Drawing collecting locations.


Pressing the pause button will keep the path, but prevent new positions from automatically being included. Press the start button again to resume automatically recording new positions
Pressing the clear button will clear the Automatic GPS Drawing path from the device
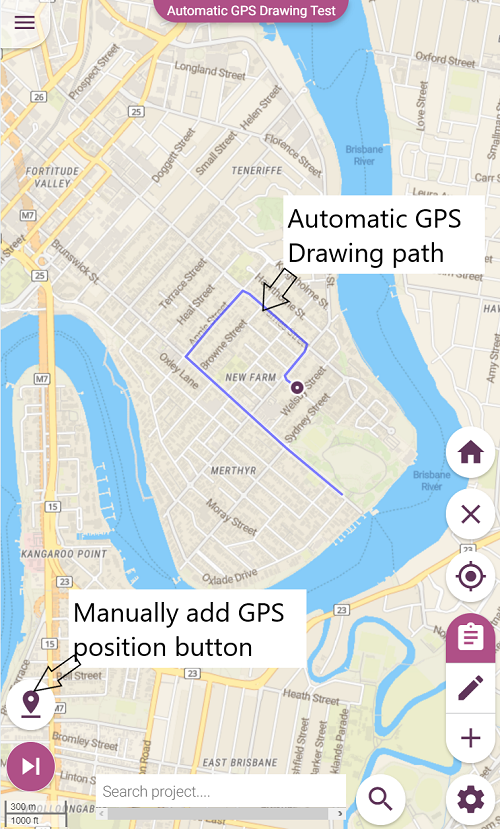
The Automatic GPS Drawing path will be displayed on the map in the colour specified in the Automatic GPS Drawing settings.
Walk/ride/drive the path you wish to record; new positions will automatically be included in the path when the GPS is further away from the previously recorded position then the configured distance filter.
Additional GPS positions can be included by pressing the manually add GPS position button. This will add the current GPS position to the path. This feature is useful to add finer detail to the Automatic GPS Drawing path then can be captured by the automatic recording.
This button becomes active when the Automatic GPS Drawing path is started, can be used when the path is paused and is available in all modes.
...
Ensure the GPS is enabled
Open a konect project to the map
Open the proof of service UI found on the bottom map drawer next the project picker and Automatic GPS Drawing settings
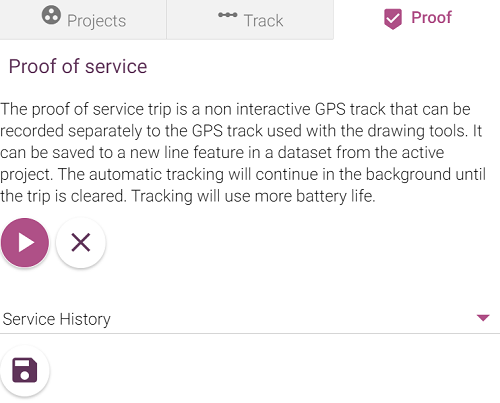
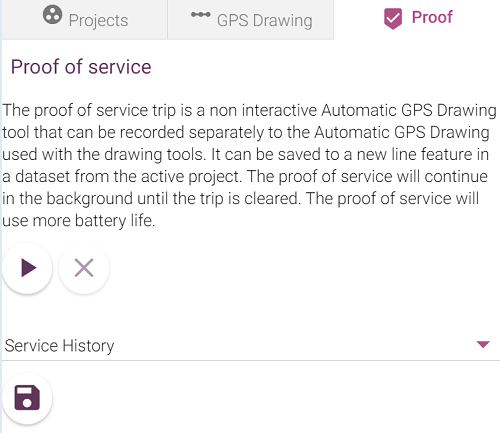
Press the start proof of service button
Pressing the clear proof of service button will clear the proof of service path from the device
Continue to perform your regular shift work
At the end of the shift open the proof of service UI again
Select the dataset to save the proof of service path to
The dataset list will only contain datasets that can create new lines
Press the save button, the dataset form will immediately open storing the proof of service path as the feature’s geometry
Fill in the form and form save button
The proof of service path will be cleared on closing the form
...